Email Service Options
What’s Happening with Your Email Service?
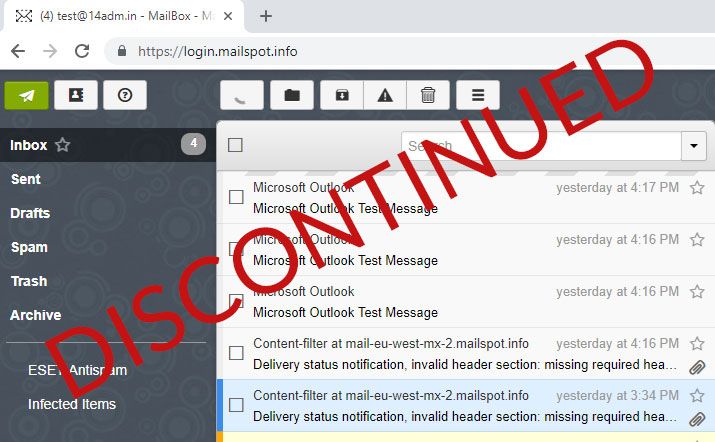
We have decided to phase out the Mailspot email box product from our portfolio. If you are here, it’s because your Mailspot service has been discontinued, and we have or will be removing your domain records tied to this service. Any devices still connected to Mailspot will no longer have functioning email.
Your discontinued email service
If you want to keep using email with Join.Law, we are here to help you migrate to either of the following superior email services we offer instead.
Option 1

RECOMMENDED

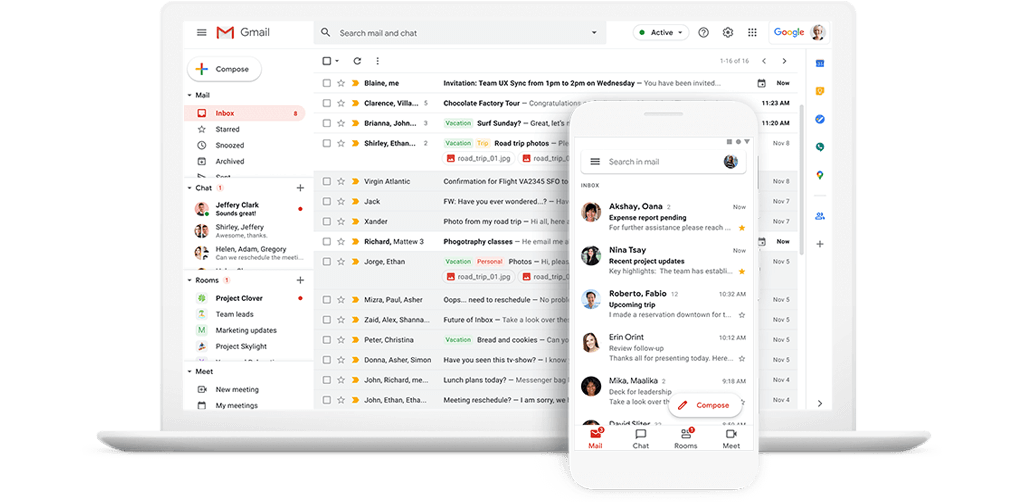
Get a custom business email address along with your go-to apps like Gmail, Meet, Docs, Calendar, Drive, and more.
Use code MOVETOGOOGLE at checkout for 50% OFF
Valid only for annual Google Workspace plans
Option 2


If you want to transfer your Mailspot data to a new email service somewhere else, you can follow the directions using Imapsync.
If you want to get a backup of your Mailspot data, we recommend backing it up to Outlook.
Backup your email data using Imapsync
Requires sharing your password with a third-party service
- Reset the passwords for your existing mailboxes to a new temporary password. Copy and paste the login info into a notepad. You will want to use temporary passwords for this migration since you are sharing your password with a third-party app. Once you are done with your migration, change and reset your passwords. For help resetting your passwords, view our guide.
- Navigate to Imapsync at https://imapsync.lamiral.info/X/
- Enter the IMAP source mailbox info:
Enter the source email address
Enter the source email password
Enter the server name. You will use mail.mailspot.info
4. Enter the IMAP destination
Enter the email of the destination box
Enter the password of the destination box
Enter the mail server name for your mail server. For help finding this, view our guide.
5. Verify everything is entered correctly, and click Sync or resync!
Please note: if you need to abort, click Abort!
6. You can now change your DNS records to your hosting server. For help adding DNS records for your new hosting service view our guide.
Please note: DNS propagation takes 24 -48 hours so there may be some downtime. You can run the migration tool one more time after 24 hours just to catch any mail that was sent to the old mailbox during that time.
Backup your email data using Outlook
STEP 1: Connect your existing mailboxes to Outlook: (if you are already using Outlook skip to step 2)
STEP 2: Back up (export) your mail using Outlook:
- Open Outlook and click File
- Click Open & Export
- Click Import/Export
- In the Import & Export Wizard, select Export to a file, and click Next
- Select Outlook Data File (.pst), and click Next
- Select the folder to export from (i.e. Inbox). Make sure Include subfolders is checked, and click Next
- Click Finish
- Choose your options. For this guide, we have chosen Do not export duplicate items, and click Finish
- Add optional password, and click OK
- Your backup is now located in documents\\Outlook Files\\backup.pst
STEP 3: Connect your new mailboxes in the web hosting panel to Outlook:
STEP 4: Import your mail back up:
- Open Outlook and click File
- Click Open & Export
- Click Import/Export
- In the Import & Export Wizard, select Import from another program or file, and click Next
- Select Outlook Data File (.pst), and click Next
- Select the folder to import: located in documents\\Outlook Files\\backup.pst
- Select Do not import duplicates or any option you prefer, and click Next
- Enter the optional password you created, and click OK, and click Next
- Select the folder to import from, and select the folder to import into, and select Finish
- You have now completed your import.
Get guidance from 101domain experts
If you need help recovering the email data from your expired service, please open a Support Ticket in your account.
There is a chance we may be able to recover your email data, but it is not guaranteed if your service expired over 30 days ago.
